Introduction: When Everyday Objects Become Statement Pieces
There is something deeply satisfying about transforming simple, inexpensive materials into something that looks like it belongs in a high-end interior design magazine. In recent years, the rise of DIY home décor has proven that beauty does not have to come with a high price tag. Instead, creativity, patience, and a bit of imagination can turn even the most ordinary objects into stunning decorative pieces.
One of the most fascinating trends gaining attention is the transformation of dollar store pool noodles into elegant fluted vases using plaster tape. At first glance, pool noodles seem like the last thing you would associate with refined home décor. They are colorful, lightweight, and typically linked to summer fun rather than interior design. However, when reimagined with the right technique, they become the structural foundation for a sculptural piece that mimics the look of expensive ceramic or stone vases.
This project is not just about crafting; it is about learning how to see potential where others see limitation. It teaches you to think beyond the original purpose of an object and to understand how texture, shape, and finish can completely redefine its identity. More importantly, it gives you the power to personalize your space in a way that reflects your taste, your creativity, and your lifestyle.
In this article, you will not only learn how to create a fluted vase step by step, but you will also understand the design principles behind it, how to customize it for different interior styles, and how to elevate it from a simple DIY to a professional-looking décor piece.
Understanding the Fluted Design: Why It Looks So Expensive
Before diving into the process, it is important to understand why fluted designs are so visually appealing.
Fluting refers to the vertical grooves or ridges often seen in classical architecture, columns, and modern decorative objects. This design has been used for centuries because it creates a sense of rhythm, symmetry, and elegance. When light hits a fluted surface, it creates shadows and highlights that add depth and dimension. This makes even a simple object look more sophisticated.
Key Concept: Texture Creates Luxury
One of the biggest lessons in interior design is this: texture often matters more than material.
A plastic object with the right texture can look more luxurious than a smooth, expensive material. The fluted effect created by pool noodles adds vertical lines that guide the eye upward, making the vase appear taller and more refined.
Why Pool Noodles Work Perfectly
Pool noodles are ideal for this project because:
- They are lightweight and easy to cut
- Their cylindrical shape naturally creates uniform ridges
- They are flexible but sturdy enough to hold form
- They are extremely affordable and widely available
By arranging them vertically, you replicate the look of carved grooves without needing any advanced tools or sculpting skills.
Materials Breakdown: Understanding Each Element
To truly master this project, you need to understand not just what to use, but why each material is important.
Pool Noodles
These form the skeleton of your vase. The number you use will determine the thickness and density of the fluted pattern.
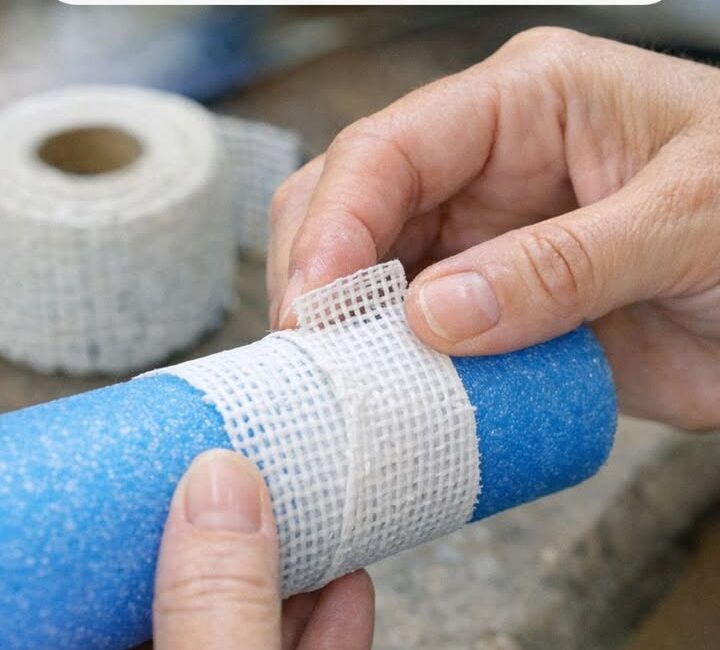
Plaster Tape
Plaster tape is what transforms the soft foam structure into a solid, stone-like surface. When activated with water, it hardens and creates a durable outer shell.
Hot Glue Gun
This is your primary construction tool. It ensures that the noodles stay in place and maintain the shape of the vase.
Base (Cardboard or Plastic)
The base provides stability. Without it, your vase would not stand properly. A sturdy base ensures balance and durability.
Sandpaper (Optional but Recommended)
This helps refine the surface. Even though the plaster tape creates a natural texture, sanding allows you to control how smooth or raw the finish appears.
Paint and Sealer
These are what elevate your piece from DIY to designer-level. The right paint choice can mimic materials like ceramic, marble, or concrete.
Step-by-Step Guide: Building Your Fluted Vase
Step 1: Planning the Shape and Size
Before cutting anything, decide:
- How tall you want your vase
- Whether you want a straight or slightly tapered shape
- Where you will place it in your home
This step is crucial because it influences all the following decisions.
Step 2: Cutting the Pool Noodles
Cut each noodle to your desired height. Try to keep them consistent unless you are intentionally creating a staggered design.
Step 3: Creating the Fluted Structure
Arrange the noodles vertically around your base. Leave small gaps between each piece to enhance the fluted effect.
Step 4: Securing the Structure
Use hot glue to attach each noodle firmly to the base. Make sure everything is aligned and stable before moving on.
Step 5: Applying the Plaster Tape
Wrap the entire structure with plaster tape:
- Start from the bottom
- Overlap each strip slightly
- Smooth with damp fingers as you go
This step requires patience. The more carefully you apply the plaster, the better your final result will look.
Step 6: Drying Time
Allow the vase to dry completely. This can take several hours or overnight.
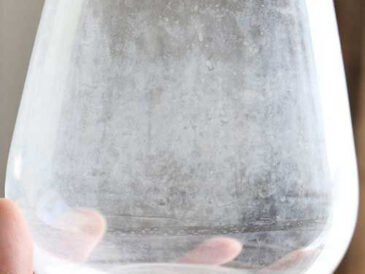
Step 7: Refining the Surface
Use sandpaper to smooth out rough areas if needed. Decide how polished or textured you want the final look to be.
Step 8: Painting and Finishing
Choose your finish:
- Matte white for a modern look
- Beige or sand tones for a natural aesthetic
- Marble effect for luxury
- Metallic accents for drama
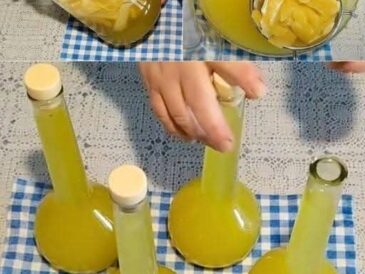
Seal the vase to protect it, especially if you plan to use it with fresh flowers.
Design Variations: Making the Vase Truly Yours
One of the most exciting aspects of this project is how customizable it is.
Minimalist Style
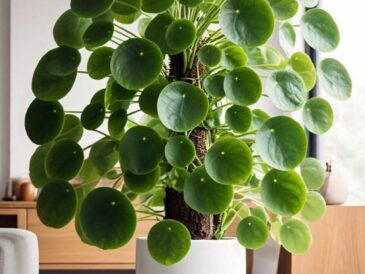
Keep the vase in a neutral color like white, gray, or beige. Pair it with simple dried branches or pampas grass.
Bohemian Style
Add texture by wrapping parts of the vase with jute or burlap. Use earthy tones and natural materials.
Modern Luxury Style
Create a marble effect using layered paint techniques. Add gold accents along the ridges.
Rustic Farmhouse Style
Use distressed paint techniques and rough textures. Embrace imperfections.
Artistic Statement Piece
Experiment with bold colors, asymmetrical heights, or even geometric patterns.
Placement Ideas: Where This Vase Works Best
Click page 2 to continue