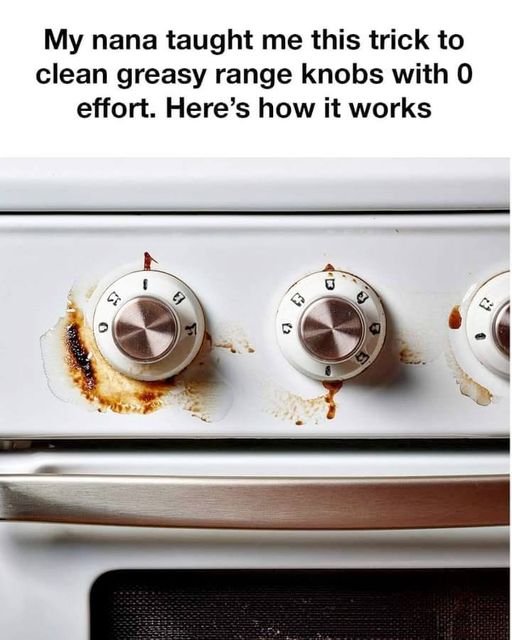
If you’ve ever tried cleaning your kitchen stove, you know that greasy range knobs are some of the most stubborn and annoying parts to get spotless. They seem to attract every drop of oil, dust, and grime that floats around your cooking area. You wipe, you scrub, but the grease clings on like glue. It can feel like a losing battle that wastes your time and energy.
But what if I told you there’s a way to get those knobs looking brand new — without scrubbing endlessly or using harsh chemicals? That’s right. There’s a zero-effort cleaning method that anyone can use to make greasy range knobs sparkle, and it uses simple household ingredients you already have.
In this comprehensive article, you’ll learn why range knobs get so greasy, the mistakes most people make when cleaning them, a foolproof step-by-step cleaning process, and expert tips to keep your kitchen knobs cleaner for longer. Ready to say goodbye to greasy knobs forever? Let’s dive in.
Why Are Range Knobs So Difficult to Clean?
First, understanding the nature of the problem helps us solve it better. Range knobs are uniquely difficult to clean because of several factors:
1. Constant Exposure to Grease and Heat
Every time you cook, especially when frying or sautéing, tiny droplets of oil, butter, and food splatter onto nearby surfaces. The knobs sit right in the middle of this action. The heat from the stove causes the grease to partially melt and stick firmly to the surface of the knobs.
Over time, these droplets accumulate into a thick, sticky layer that becomes almost impossible to wipe off with a dry cloth or even just water.
2. Their Shape and Texture Trap Dirt
Most range knobs have grooves, ridges, or textured surfaces to improve grip. These little details look great but unfortunately trap grease, dust, and grime, creating pockets that normal wiping can’t reach.
3. Material Sensitivity
Range knobs come in various materials such as plastic, metal, or coated alloys. Some of these can be damaged by harsh chemical cleaners, abrasive scrubbers, or excessive moisture. This limits your cleaning options and makes it essential to choose gentle yet effective methods.
4. Location on the Stove
Because knobs are located right where the cooking happens, they’re exposed to everything from flour dust to sticky sauces, adding layers of different kinds of dirt on top of grease.
Common Mistakes People Make When Cleaning Range Knobs
You may have tried to clean your range knobs before and felt frustrated when they didn’t come out clean. Here’s why many people struggle:
Mistake #1: Using Harsh Abrasives or Chemicals
Using steel wool, scrubbing pads, or harsh chemical cleaners may seem like a quick fix, but they can damage the surface of your knobs by scratching or discoloring them.
Mistake #2: Not Removing the Knobs for Cleaning
Some people try to clean knobs in place without removing them. This leads to water or cleaner getting inside the knob’s mechanism, which can damage internal parts or the stove’s electronics.
Mistake #3: Using Just Water or Ineffective Cleaners
Plain water or generic cleaners often can’t break down the thick layers of grease. Without a grease-cutting agent like dish soap, you’ll spend hours scrubbing with little success.
Mistake #4: Ignoring Regular Maintenance
Cleaning knobs once a year isn’t enough. Grease builds up daily, and without regular maintenance, cleaning becomes more difficult and time-consuming.
The Ultimate Zero-Effort Cleaning Method for Greasy Range Knobs
Here’s the good news: You don’t need expensive, toxic cleaners or harsh scrubbing. The method below combines warm water, dish soap, and baking soda to effortlessly clean greasy knobs and restore their shine.
What You’ll Need
- A bowl or container large enough to soak the knobs
- Warm water (not boiling, just comfortably warm)
- Dish soap (choose one specially designed for grease-cutting)
- Baking soda (a gentle abrasive that also deodorizes)
- An old toothbrush or any small soft brush
- A clean microfiber cloth or paper towels
Step 1: Remove the Range Knobs
The first step is to remove the knobs from the stove to avoid damage and allow deep cleaning.
- Most knobs can be pulled straight off with gentle force.
- If stuck, wiggle slightly or consult your stove’s manual to avoid breaking the knob or shaft.
- Place the knobs in your bowl or container for soaking.
Pro Tip: If your knobs are difficult to remove, try cleaning them while attached (instructions below).
Step 2: Prepare Your Cleaning Solution
Fill the container with warm water and add:
- A few drops of dish soap. Dish soap is specially formulated to break down cooking oils and grease, making it essential.
- About 1 tablespoon of baking soda. This adds gentle abrasive power, loosening grease stuck in grooves without scratching.
Mix well until the baking soda dissolves.
Step 3: Soak the Knobs
Place the greasy knobs in the cleaning solution and let them soak for 15-30 minutes.
Why soaking works: The warm water softens hardened grease while the soap and baking soda work on breaking it down chemically and physically.
Step 4: Scrub Gently
After soaking:
- Use an old toothbrush or soft brush to gently scrub the knobs, focusing on grooves and crevices.
- Baking soda acts as a mild abrasive, so it helps lift stubborn grime without harsh scrubbing.
- Don’t rush — take your time to ensure all trapped grease is removed.
Step 5: Rinse and Dry
click page 2 to continue