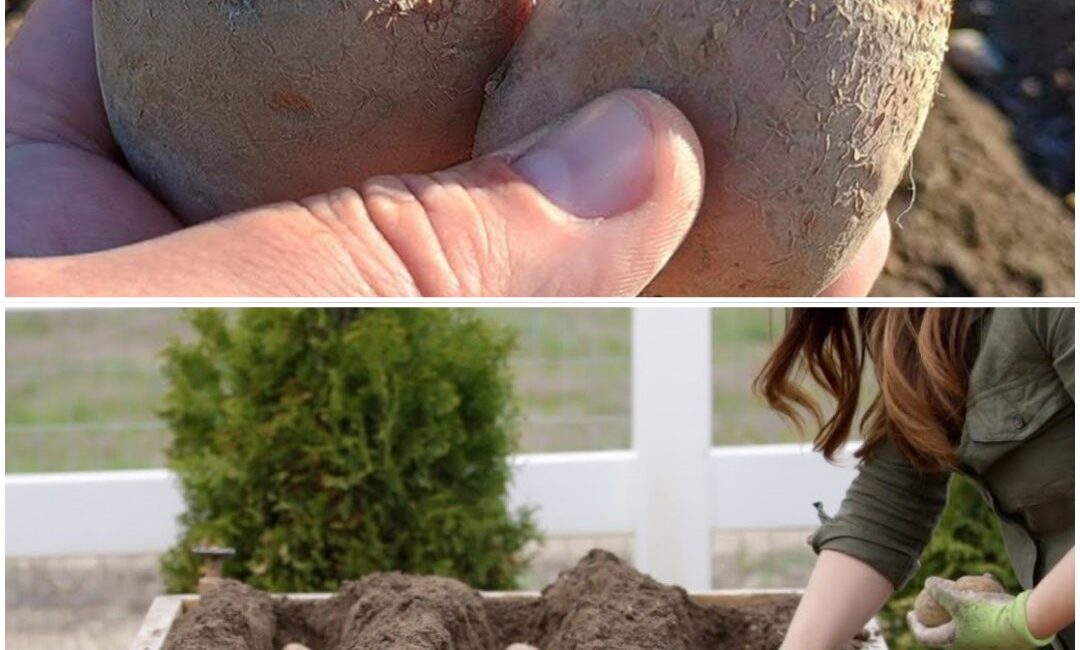
There’s something incredibly satisfying about growing your own food—especially when it comes to potatoes. Whether you’re planting in raised beds, barrels, grow bags, or straight in the ground, few things compare to digging through soil and uncovering a bounty of golden, homegrown spuds.
But what if I told you that most gardeners are planting their potatoes all wrong?
And worse: they’re unknowingly cutting their harvest in half—if not more.
In this article, we’re going deep into the one thing you should never skip when planting potatoes. This isn’t a gimmick, a chemical product, or a trendy new seed variety. It’s a timeless technique, often overlooked, that could double—or even triple—your yield if done right.
If you’ve been disappointed by small harvests, tiny tubers, or underperforming potato plants, keep reading. This is the game-changer you’ve been waiting for.
1. The Mistake Most Gardeners Make When Planting Potatoes
Let’s start with what everyone thinks they know:
- Buy seed potatoes ✅
- Cut them into chunks ✅
- Let them dry ✅
- Plant them 4 inches deep in a trench ✅
- Hill them up as they grow ✅
- Water and wait ✅
Sound familiar? That’s the classic potato-growing playbook. But here’s the truth:
👉 Following the traditional method without this one step is like baking a cake and forgetting the oven.
Your potato plants will grow.
They’ll flower.
They’ll give you some potatoes.
But not nearly as many as they could.
So, what’s the missing link?
2. The Secret Is in the Soil – But Not How You Think
Many articles will tell you to improve your soil before planting, and yes, that’s important.
But what you need to never plant without is this:
A specially prepared nutrient “launch pad” directly underneath each seed potato.
We’re not talking about just tossing in some compost and hoping for the best. We’re talking about creating a power-packed potato pit, a customized growth chamber for each plant, designed to fuel explosive tuber production.
Call it what you want—a starter trench, a potato pit, a yield booster zone—the principle is simple:
Feed the root zone, early and directly.
Not the leaves. Not the stems. The roots and future tubers.
Let’s dive into how to do it.
3. How to Create the Perfect Potato Launch Pad
Here’s what you’ll need for each planting hole or trench section:
✅ 1. A generous handful of compost or aged manure
This will provide the slow-release nutrients your potato roots need throughout the season.
✅ 2. A scoop of wood ash or bone meal
Rich in potassium and phosphorus, these help promote strong tuber development, not just foliage.
✅ 3. Crushed eggshells or a calcium source
Calcium helps prevent hollow heart and scab, two common problems in homegrown potatoes.
✅ 4. A small handful of organic fertilizer (preferably low nitrogen)
Too much nitrogen leads to huge leafy plants with few potatoes. A balanced or phosphorus-heavy fertilizer is better.
✅ 5. A few tablespoons of Epsom salt (magnesium sulfate)
Magnesium improves nutrient absorption and boosts root strength.
✅ 6. A bit of garden lime (only if your soil is very acidic)
Potatoes prefer slightly acidic soil, but if yours is below pH 5.0, lime can balance it.
🔧 How to Build It: Step-by-Step
- Dig a trench or hole about 8–10 inches deep.
- At the bottom, add your launch pad mix: a scoop of compost, ash, crushed shells, Epsom salt, etc.
- Mix it slightly with the soil, don’t leave it sitting in layers.
- Place your seed potato on top of the amended zone, with eyes facing up.
- Cover with 4 inches of soil.
- As the plant grows, hill up soil around it regularly to keep the tubers covered.
That’s it. That’s the trick.
Planting potatoes with intention, not just in dirt, but in a mini-engineered growth capsule, gives them the perfect foundation for a high-yield harvest.
4. Bonus Tip: The Pre-Sprouting Advantage (Chitting)
click page 2 to continue