Ferns are among the most lush, elegant plants you can bring into your home. Their feathery fronds, rich green hues, and the sense of calm they bring are unmatched. Usually, ferns are grown in soil or potting mixes—but there is another way to enjoy their beauty: growing ferns in water. It’s clean, decorative, and can be surprisingly low maintenance once you get the hang of it.
In this guide, you’ll learn everything you need to know: which ferns are suited for water, setup, care, problems, propagation—so that your ferns thrive in their water garden year‑round.
Why Grow Ferns in Water?
Before diving into the how‑to, let’s explore why this method is actually worthwhile.
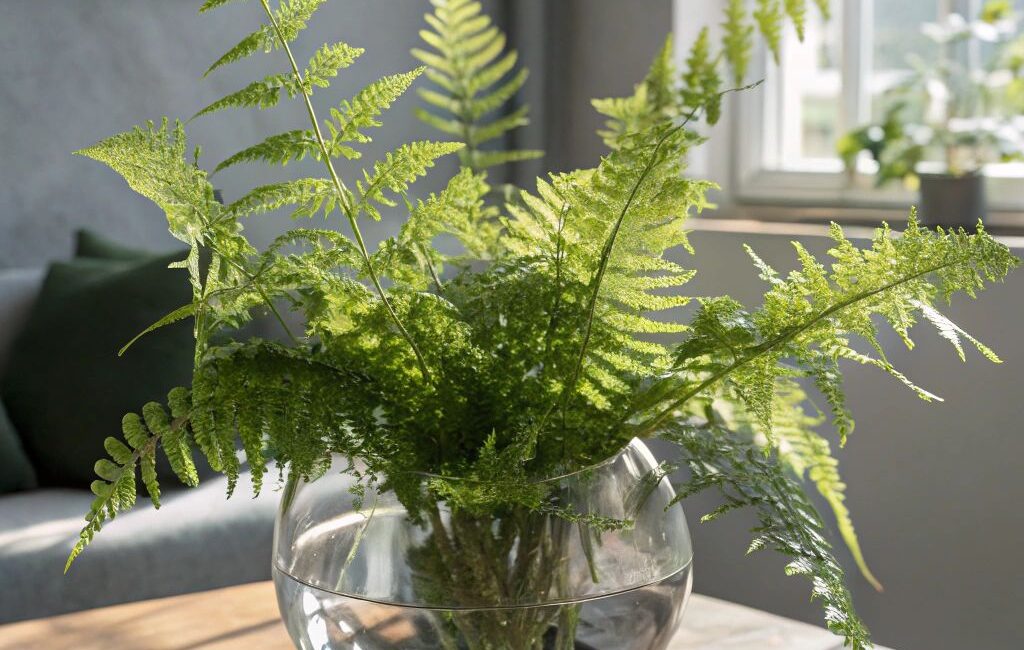
- Aesthetic appeal: Clear glass vessels filled with roots, pebbles, and water make a striking display. The game of light, root forms, and lush fronds gives a tranquil, almost meditative look.
- Less mess, less soil: Soil can get compacted, messy, attract pests, soil moulds, etc. With water, there’s no soil to spill. If done properly, fewer pests and diseases.
- Control over moisture: Ferns like moisture. Growing in water ensures roots always have some moisture. This helps with humidity issues especially in dry indoor environments.
- Space efficiency: You can use jars, vases, bowls, or shallow glass containers. These can sit on shelves, windowsills, bathroom counters. Great for small spaces.
- Educational / experimental: Watching roots, seeing how a plant adapts to water culture is fascinating. It’s also a way to experiment with propagation.
Which Ferns Are Best Suited for Water Culture?
Not all ferns thrive when their roots are submerged in water for long. Some are more tolerant than others. You’ll want to choose species or varieties that have these qualities:
- Natural affinity to humid or wet environments
- Fibrous root systems rather than thick rhizomes that rot if waterlogged
- Resilience to minor fluctuations in water quality, light, etc.
Here are examples of ferns more likely to succeed in water setups:
- Boston Ferns (Nephrolepis species)
- Some Maidenhair Ferns (with care)
- Other fern types that enjoy moist root zones
- Ferns that are traditionally used in bog or humid areas
If you’re unsure of the exact species, observe how it reacts: if it tolerates moist soil, high humidity, etc.—it may be a good candidate.
Setting Up Your Water Fern
Here is your step‑by‑step plan to set up a fern in water successfully.
1. Selecting the plant
Pick a healthy fern from soil or pot. Look for:
- Bright green, undamaged fronds
- Healthy roots: they should be white or light colored, not mushy or brown
- No severe pests or insect damage
You can start with a mature plant or a younger one, depending on what you have.
2. Removing soil and cleaning the roots
This is critical. Soil left on roots can bring pathogens, rot, mould.
- Gently slide the fern out of its pot or container.
- Wash the roots under lukewarm water to remove all soil. Be gentle so you don’t damage root tips.
- Trim any damaged, slimy, or rotten roots with clean scissors or pruning shears.
3. Choosing a container
- Use a glass vase, jar, bowl, or any waterproof container. Clear glass is nice because you can observe the roots and water clarity.
- Make sure the container is large enough for the root system to spread (don’t crowd the roots).
- If possible, choose a container with a wide opening to allow air circulation.
4. Adding support
Since roots can be heavy and vines / fronds need support:
- Use decorative pebbles, small rocks, or gravel at the bottom. They help anchor roots without soil.
- If needed, you can use netted pot baskets or rock placements to keep the root system stable.
5. Filling with water
- Use clean, ideally filtered or distilled water. Rainwater works great if safe.
- Tap water can work but you may want to let it sit to dissipate chlorine or let unpleasant chemicals settle.
- Fill the container so the roots are submerged—but be very careful not to submerge the crown (the base of fronds). Submerging the crown generally causes rot. The fronds themselves should be above water (or lightly touching) unless the species can tolerate more.
6. Positioning
Light, temperature, humidity—they all matter.
- Place in bright, indirect light. Avoid strong direct sun through glass which can scorch fronds or overheat water.
- Moderate temperature: most ferns prefer somewhere between about 60‑75°F (≈15‑24°C). Avoid cold drafts and extreme heat.
- Humidity helps. Because water culture already maintains moisture around roots, fronds will benefit from a humid atmosphere. Bathrooms or kitchens often are good places if light is adequate.
Ongoing Care: Keeping Your Ferns Healthy in Water
After setup, regular maintenance is key. These are the checkpoints you’ll need to keep up with.
1. Water quality and changes
- Change the water regularly. Usually once a week or every 5‑7 days is good. If the water becomes cloudy, has debris or algae, change sooner.
- When changing water, rinse the container – clean off algae, slime, or residue. Rinse roots gently if needed.
- Top up water between changes if level drops. Use water that’s similar temperature to avoid shock.
2. Nutrient supply
Roots in water can’t get nutrients from soil, so you must provide them:
- Use a diluted, water‑soluble fertilizer made for houseplants. Or use a fertilizer formulated for hydroponics or water‑grown plants.
- Feed lightly – maybe once per month during the growing/active growth period (spring/summer). Use weaker strength than soil plants require to avoid burning roots.
- In cooler seasons or when growth slows, reduce feeding accordingly.
3. Light care and rotation
- Ensure indirect light. If light is weak, place closer to window but use sheer curtain. Or use grow lights if needed.
- Rotate the container periodically so all sides get light, to prevent one‑sided growth.
- Watch the frond color: pale or yellow leaves may mean too much light; dark, floppy leaves may mean too little.
4. Temperature and environment
- Avoid extremes. Cold water or cold drafts can stress the plant. Also avoid placing containers next to air vents that blow hot/dry air.
- Keep ambient temperature stable if possible. Frost or freezing will kill many ferns.
- Maintain humidity. Spraying or misting the air around the fronds helps. A pebble tray around base (if container allows) or placing near other plants helps raise ambient moisture.
Propagation and Division in Water
If you wish to multiply your ferns, growing them in water can help with certain propagation methods.
1. Division
- Some ferns can be divided: when the root mass is healthy, gently split into sections with roots and fronds each.
- Wash off soil, trim away damaged roots.
- Place divisions in water containers just as you would plants. Provide support, ensure they adapt well.
2. Cuttings
- Select a healthy frond with section of stem. Some ferns root from cuttings in water.
- Place the cut stem in water, keeping leaves above. Change water frequently. With time this stem may root.
- Once roots are strong (a couple of inches), you can either keep it in water or transplant to soil or semi‑water/soil mix.
3. Spores (for advanced hobbyists)
- Ferns reproduce via spores rather than seeds. If you have a species that produces spores, collecting and germinating spores in a moist environment can result in new plants.
- This process is slower, requires patience, moisture control, and often a sterile medium. But for water lovers, you might start spores in moist trays then transition to water culture.
Common Problems and Solutions
Even water‑grown ferns can run into issues. Here are common problems and what to do.
click page 2 to continue