Cracks in the walls are a common issue in most homes, whether they appear as small hairline fractures or larger gaps. These cracks can occur due to a variety of factors, such as settling of the house, temperature fluctuations, or moisture. While cracks might seem like a major problem, repairing them is easier than you think. With a few basic tools and materials, you can restore your walls to their original condition. This article will provide a step-by-step guide on how to repair cracks in your walls.
Step 1: Clean the Area
Before you start repairing cracks, it’s essential to clean the surrounding area. Use a dry cloth or small brush to remove any dust, dirt, or loose debris around the crack. Cleaning the surface will ensure that the repair materials adhere properly to the wall and give you a cleaner, more durable finish.
Step 2: Repair Small Cracks
For minor cracks, such as hairline fractures or small gaps, spackle or joint compound is the ideal solution. Using a putty knife, apply a thin layer of spackle or joint compound over the crack. Press the compound into the crack and smooth it out, making sure it’s level with the rest of the wall. Wipe off any excess compound with the edge of the knife to avoid leaving lumps.
Once the compound is applied, allow it to dry completely. Drying times typically range from 1 to 2 hours, but you should check the product instructions for precise details.
Step 3: Sand the Area
Once the spackle or compound is dry, take fine-grit sandpaper (120 to 220 grit) and gently sand the patched area. Sanding smooths out the compound, helping it blend with the surrounding wall. Be careful not to over-sand, as you don’t want to damage the wall or make the patch more noticeable.
After sanding, clean the area by wiping away any dust with a damp cloth or a vacuum.
Step 4: Prime and Paint
Now that the crack is filled and smoothed out, it’s time to make the repair blend seamlessly with the rest of the wall. Start by applying a coat of primer over the patched area. This helps the paint adhere better and ensures that the repaired spot doesn’t absorb more paint than the rest of the wall.
Once the primer has dried, paint over the patched crack using the same paint color as the surrounding area. Apply at least one coat, and allow the paint to dry thoroughly. If necessary, apply a second coat for better coverage.
Step 5: Repair Larger Cracks
If the crack is wider than 1/8 inch or if it spans a significant portion of the wall, the repair process is slightly more involved. For cracks of this size, it’s essential to use joint tape for added strength and stability.
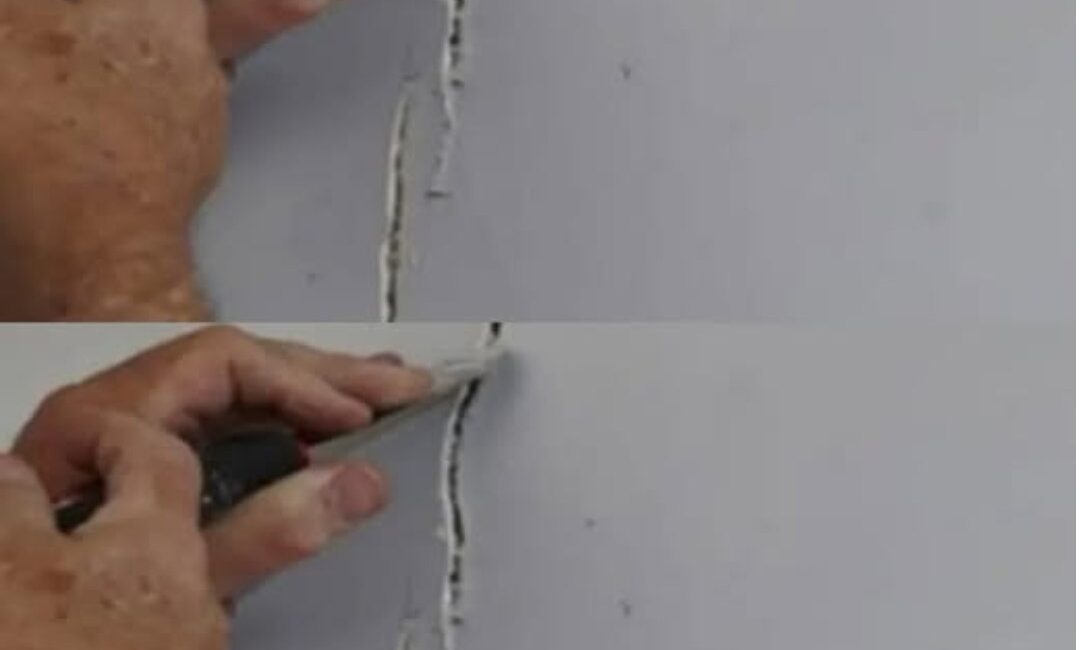
Begin by widening the crack slightly using a utility knife. This helps the joint compound adhere more effectively. Then, apply a piece of drywall tape (either mesh or paper) directly over the crack, ensuring it’s centered and flush with the wall.
Cover the tape with a thin layer of joint compound, using a putty knife to smooth it out. Allow the compound to dry, and then sand the area smooth. You may need to apply additional layers of compound, repeating the process of drying, sanding, and smoothing, until the repair is flush with the surrounding wall.
Step 6: Final Touches
Once the compound is completely dry and smooth, clean the area again and apply a coat of primer. Once the primer dries, paint the patched area to match the rest of the wall. Depending on the size of the crack, you may need a couple of coats of paint for a seamless finish.
Tips for a Professional Finish
- Work in a Well-Ventilated Area: When using joint compound, spackle, or paint, make sure the room is well-ventilated to avoid inhaling fumes.
- Use High-Quality Paint: For a longer-lasting repair, use high-quality paint that matches your wall color. This will help prevent peeling or discoloration over time.
- Be Patient: Allow each layer of compound, primer, and paint to dry fully before moving on to the next step to ensure a smooth, durable finish.
- Inspect for Larger Issues: If cracks are widespread or keep reappearing, it could indicate a structural issue. If this happens, it’s a good idea to consult a professional contractor to ensure the problem is not caused by shifting foundations or other serious issues.
Conclusion
Repairing cracks in your walls is a straightforward task that can restore the look of your home. Whether you’re dealing with small hairline cracks or larger gaps, following these simple steps can help you achieve a professional-looking finish without the need for expensive contractors. By taking care of small cracks early on, you’ll not only improve your home’s appearance but also prevent further damage down the line. With patience and a little elbow grease, you can easily restore your walls and keep your home looking beautiful!