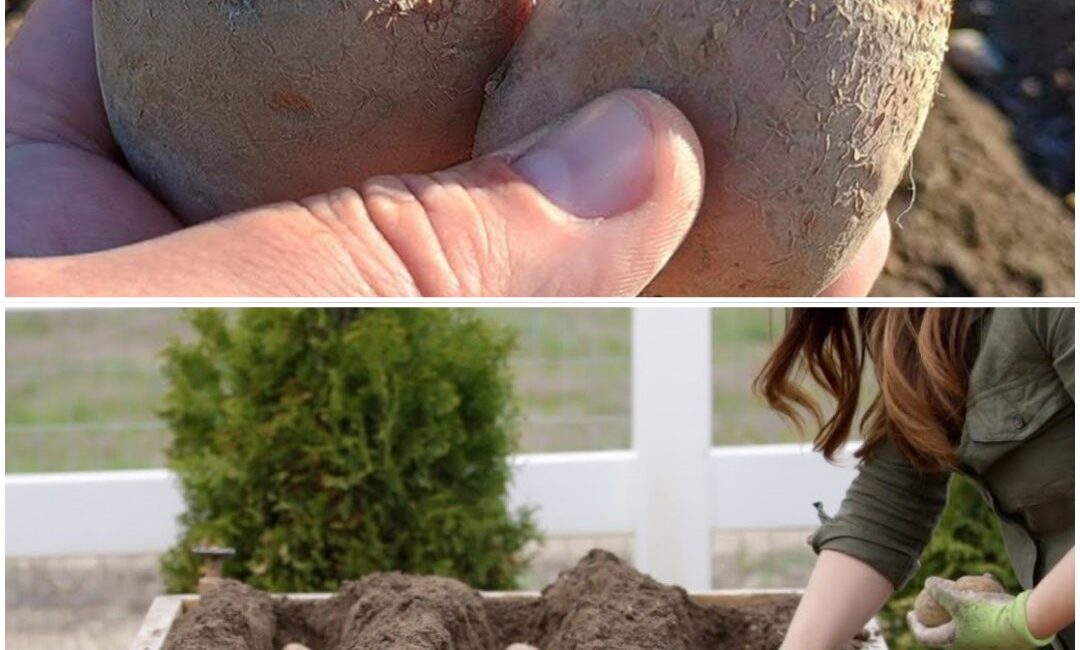
If you want to push your yield even further, don’t skip pre-sprouting your seed potatoes, a.k.a. chitting.
This process allows the potato to begin growing eyes (sprouts) before planting, giving it a head start and shortening the time to harvest.
Here’s how:
- Place your seed potatoes in an egg carton or tray.
- Keep them in a cool, bright (but not sunny) spot.
- Wait 2–3 weeks until firm, green sprouts appear.
- Plant gently without breaking the sprouts.
Chitted potatoes mature faster, produce more uniform plants, and are less prone to rot, especially in cooler spring soil.
5. Water Wisely, Feed Strategically
Now that you’ve given your spuds the perfect start, don’t ruin it with bad watering habits.
💧 Watering Rules for Bigger Yields:
- Do not water immediately after planting unless the soil is bone dry.
- Begin regular watering once the plants are 6 inches tall.
- Potatoes need about 1–2 inches of water per week, especially during flowering (when tubers are forming).
- Too much water = rot. Too little = tiny yields.
🍽️ Feeding Rules:
You already gave them a powerful underground booster. But if you want to top it off, apply a light dose of low-nitrogen fertilizer once flowering begins, focusing on potassium and phosphorus.
Avoid over-fertilizing. That’s the biggest mistake new gardeners make.
6. The Power of Hilling (Don’t Skip This Either)
Hilling is the practice of piling soil or mulch up around the base of potato plants as they grow.
Why is it crucial?
- It protects growing tubers from sunlight, which turns them green and toxic.
- It encourages the plant to produce more tubers along the stem.
- It improves drainage and root strength.
When and How:
- Begin when the plant is 6–8 inches tall.
- Hill every 1–2 weeks until the plant is about knee-high.
- Use soil, straw, compost, or a mix of all three.
7. Mulch Like a Master
After your final hilling, apply a thick layer of mulch—straw, shredded leaves, or even grass clippings.
This will:
- Retain moisture
- Suppress weeds
- Regulate soil temperature
- Reduce disease pressure
In hot climates, this mulch barrier can mean the difference between a decent crop and a stunted one.
8. Harvest Timing: Patience = Pounds
Another secret to doubling your yield? Don’t rush the harvest.
It’s tempting to dig around when the plants flower or when you see a few baby spuds—but the bulk of tuber development happens after flowering, during the plant’s die-back phase.
Rule of thumb:
- New potatoes: 2–3 weeks after flowering starts.
- Main crop: When the leaves turn yellow and die back completely.
At this point, stop watering, wait 5–7 days to let the skins harden underground, then harvest on a dry day.
Handle gently. Let them dry in shade for 2–3 days. Then cure in a cool, dark place for 1–2 weeks before storing.
9. Grow More in Less Space: Try the Vertical Method
Even if you’re limited on space, you can still double or triple your yield by growing vertically using containers or potato towers.
Here’s how:
- Use grow bags, barrels, or wire towers.
- Start with a few inches of soil and seed potatoes at the bottom.
- As the plant grows, add more soil or mulch up to the top.
- Harvest by dumping out the container at the end of the season.
You’ll be amazed at how many layers of tubers you can grow in one square foot.
10. The One Thing You Must Never Plant Without
So now, let’s come back full circle.
The one thing you should never plant potatoes without is not just fertilizer, or compost, or even good intentions.
It’s the deliberate, nutrient-rich launch pad you build under every single potato you plant.
It’s the attention to root health.
The awareness of what your plant truly needs before it even sprouts.
The habit of planting not in hope, but in strategy.
Never drop a seed potato into dry dirt and walk away hoping for a miracle.
Create the miracle.
Final Thoughts: Big Harvests Start with Small Decisions
If you’re tired of small yields,