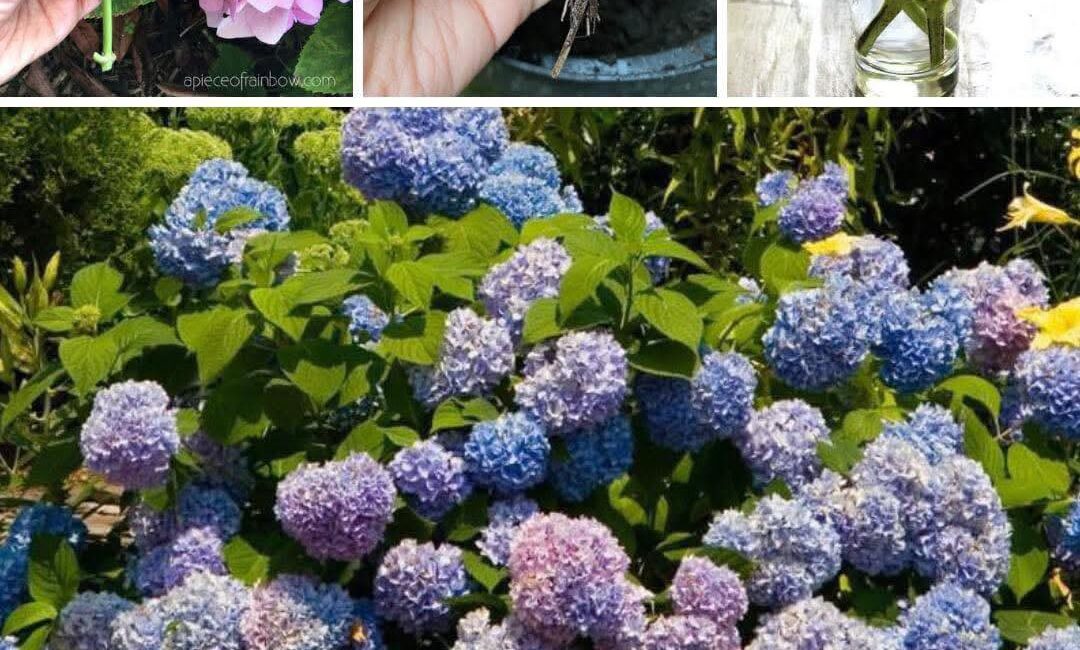
Hydrangeas are among the most beloved ornamental shrubs in gardens worldwide, renowned for their lush foliage and stunning flower clusters that bloom in a range of colors including white, pink, blue, and purple. Growing hydrangeas from cuttings is an economical and rewarding way to expand your garden or share plants with friends and family.
Propagation from cuttings allows gardeners to clone their favorite hydrangea varieties, ensuring the offspring retain the parent plant’s exact traits. This detailed guide will walk you through every step of successfully rooting hydrangea cuttings, covering the best times to take cuttings, preparation, rooting media, care, transplanting, and troubleshooting common issues.
Why Grow Hydrangeas from Cuttings?
Before diving into the “how-to,” it’s important to understand the benefits of propagating hydrangeas via cuttings:
- Cost-effective: Saves money compared to buying mature plants.
- Genetic Consistency: Cuttings produce clones identical to the mother plant, preserving desired flower color and form.
- Faster Blooming: Compared to seed-grown plants, rooted cuttings mature faster and bloom sooner.
- Satisfaction: Propagation is an engaging and rewarding gardening activity.
Understanding Hydrangea Types and Their Propagation Potential
Hydrangeas fall into several major groups, each with specific propagation considerations:
- Hydrangea macrophylla (Bigleaf Hydrangea): Known for mophead and lacecap flowers; best propagated from softwood or semi-hardwood cuttings.
- Hydrangea paniculata (Panicle Hydrangea): Upright shrubs with cone-shaped flowers; typically propagated by hardwood cuttings.
- Hydrangea arborescens (Smooth Hydrangea): Easy to propagate from softwood cuttings.
- Hydrangea quercifolia (Oakleaf Hydrangea): Propagated by semi-hardwood cuttings or layering.
Knowing your hydrangea type will help you select the optimal timing and cutting type for propagation.
When Is the Best Time to Take Hydrangea Cuttings?
Timing is crucial for successful rooting:
- Softwood cuttings: Taken in late spring to early summer when new growth is flexible but mature enough to snap easily.
- Semi-hardwood cuttings: Taken mid to late summer when stems start to firm up but are not fully woody.
- Hardwood cuttings: Taken late fall to early winter when plants are dormant.
Softwood cuttings root faster but are more delicate, while hardwood cuttings take longer but produce stronger plants.
Selecting and Preparing Hydrangea Cuttings
Choosing the Right Stem
- Look for healthy, disease-free stems without flower buds.
- The stem should be about 4-6 inches long.
- For softwood cuttings, select green, pliable stems.
- For semi-hardwood, choose stems beginning to mature, turning slightly woody.
Tools Needed
- Sharp, sterilized pruning shears or garden scissors.
- Rooting hormone powder or gel (optional but increases success).
- Clean container or pot with drainage.
Step-by-Step Cutting Preparation
- Cut the stem just below a node (the point where leaves attach).
- Remove lower leaves, leaving 2-3 sets of leaves at the top.
- If leaves are large, cut them in half to reduce moisture loss.
- Optionally dip the cut end into rooting hormone to stimulate root development.
- Immediately place the cutting into moist rooting medium to prevent desiccation.
Choosing the Right Rooting Medium for Hydrangea Cuttings
A well-draining, aerated medium is essential:
- Common options include a mix of peat moss and perlite (50:50), or coarse sand and peat.
- Avoid heavy soils that retain too much moisture, increasing rot risk.
- Use sterilized soil to prevent fungal infections.
- Containers should have drainage holes.
How to Root Hydrangea Cuttings: Detailed Instructions
Step 1: Prepare Your Potting Medium
- Moisten the rooting mix thoroughly but avoid sogginess.
- Fill small pots or trays with the mix and press lightly.
Step 2: Insert Cuttings
- Make a small hole with a pencil or stick.
- Insert the cutting about 1.5 to 2 inches deep, firming the soil around it.
Step 3: Create a Humid Environment
- Cover pots with a plastic dome or clear plastic bag to retain humidity.
- Ensure the plastic does not touch the leaves; use small stakes if needed.
Step 4: Positioning and Temperature
- Place cuttings in bright, indirect light (avoid direct sun).
- Ideal temperature for rooting is between 65-75°F (18-24°C).
- Bottom heat (using a heat mat) can accelerate rooting but is optional.
Step 5: Watering and Monitoring
Click page 2 for more