Step 4: Add the Eggs and Vanilla
Add the eggs, one at a time, beating well after each addition. This helps to incorporate the eggs fully into the mixture and ensures the cake batter has a smooth texture. Add the vanilla extract and mix until everything is well combined.
Step 5: Combine the Dry Ingredients
In a separate bowl, whisk together the all-purpose flour, baking powder, baking soda, and salt. This ensures that the dry ingredients are evenly distributed before being added to the wet ingredients.
Step 6: Alternate Adding Dry Ingredients and Sour Cream
Add the dry ingredients to the butter-sugar-egg mixture in three parts, alternating with the sour cream in two parts. Start by adding about one-third of the dry ingredients and mix until just incorporated. Then, add half of the sour cream, followed by another third of the dry ingredients, the remaining sour cream, and finish with the last third of the dry ingredients. This technique helps to ensure the cake batter is smooth and evenly mixed, preventing overmixing.
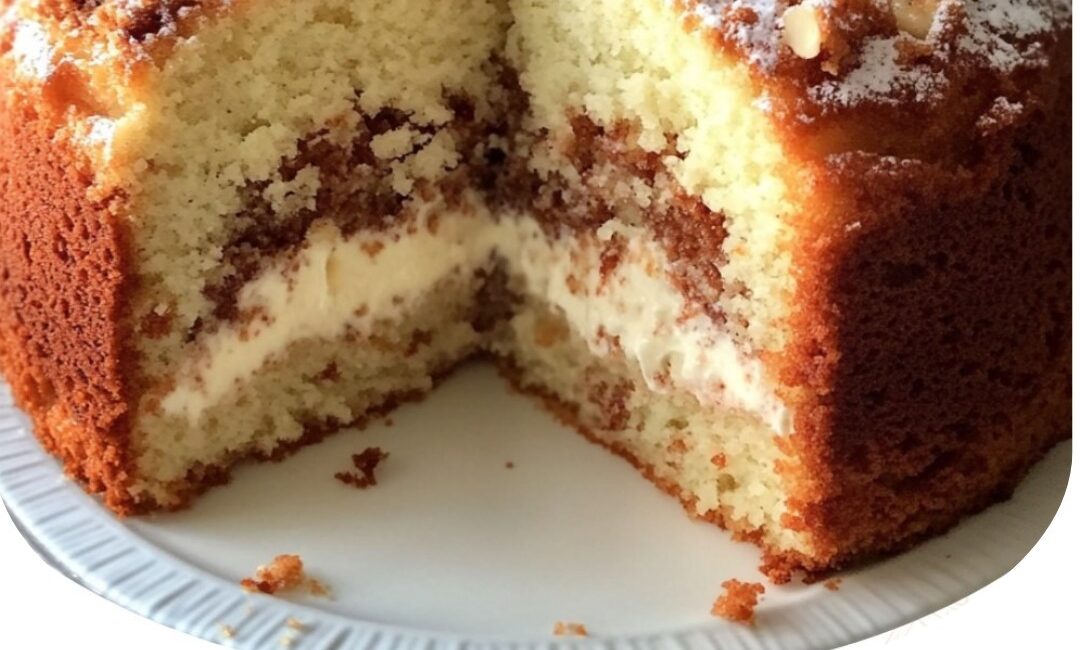
Step 7: Layer the Batter and Cinnamon-Sugar Filling
Spoon about half of the cake batter into the prepared baking dish and spread it evenly. Sprinkle half of the cinnamon-sugar-nut mixture over the batter. Then, top with the remaining cake batter, spreading it carefully to cover the filling. Finish by sprinkling the rest of the cinnamon-sugar-nut mixture on top of the cake.
Step 8: Swirl the Cinnamon Filling
Using a butter knife or a skewer, gently swirl the cinnamon-sugar-nut mixture into the cake batter. This will create a marbled effect as the cake bakes, ensuring that the filling is distributed throughout the cake. Be careful not to over-swirl, as you want to maintain some distinct layers.
Step 9: Bake the Cake
Place the cake in the preheated oven and bake for 45 to 50 minutes, or until a toothpick inserted into the center comes out clean. The cake should be golden brown on top, and the cinnamon filling should have settled nicely within the cake layers.
Step 10: Cool and Serve
Allow the cake to cool in the pan for about 10 to 15 minutes before transferring it to a wire rack to cool completely. While the cake can be served warm, cooling it allows the flavors to fully meld together, enhancing the taste. Once it’s cool, slice the cake into squares and serve with a hot cup of coffee or tea.
Tips for Perfecting Your Sour Cream Coffee Cake
- Sour Cream Substitutes: If you don’t have sour cream on hand, you can substitute it with Greek yogurt or buttermilk. These alternatives will yield similar textures and flavors.
- Make It Nut-Free: If you or someone in your household has a nut allergy, you can simply omit the nuts from the filling and topping. You could even substitute them with chocolate chips if you prefer.
- Add a Glaze or Frosting: For an extra layer of sweetness, drizzle a simple glaze over the cake once it’s cooled. Mix powdered sugar with a small amount of milk or water to create a smooth, pourable glaze.
- Freeze for Later: This coffee cake freezes beautifully. After baking, allow the cake to cool completely, then wrap it tightly in plastic wrap and foil. Store it in the freezer for up to three months. To enjoy, simply thaw it at room temperature or warm it up in the oven.
Serving Suggestions
Mom’s Sour Cream Coffee Cake is versatile and can be served in many ways. Here are some ideas:
- For Breakfast or Brunch: Serve slices alongside a hot cup of coffee, tea, or freshly squeezed orange juice for a comforting start to your day.
- For Dessert: Top with whipped cream or vanilla ice cream for a sweet, indulgent dessert.
- For Special Occasions: This cake makes a fantastic addition to holiday brunches or family gatherings. Its rich flavor and soft texture make it a crowd-pleaser every time.
Conclusion: A Cake to Cherish Forever
There’s no denying that Mom’s Sour Cream Coffee Cake is more than just a dessert—it’s a cherished family recipe that brings comfort, warmth, and nostalgia. With its soft crumb, buttery texture, and delightful cinnamon filling, this cake is perfect for a variety of occasions, from casual mornings to special celebrations. By following these simple steps, you can easily recreate this classic recipe in your own kitchen and share it with loved ones for years to come. Happy baking!